
Blog
Today we’re introducing a new feature to help you manage your yards - Rotas.
With Rota’s you can manage the day-to-day operation of your yard. Anything from who’s working on what day through to managing who’s responsible for poo picking which field throughout the week.
By managing your Rota in At The Yard you can ensure that your customers and staff always have the latest, up-to date Rota.
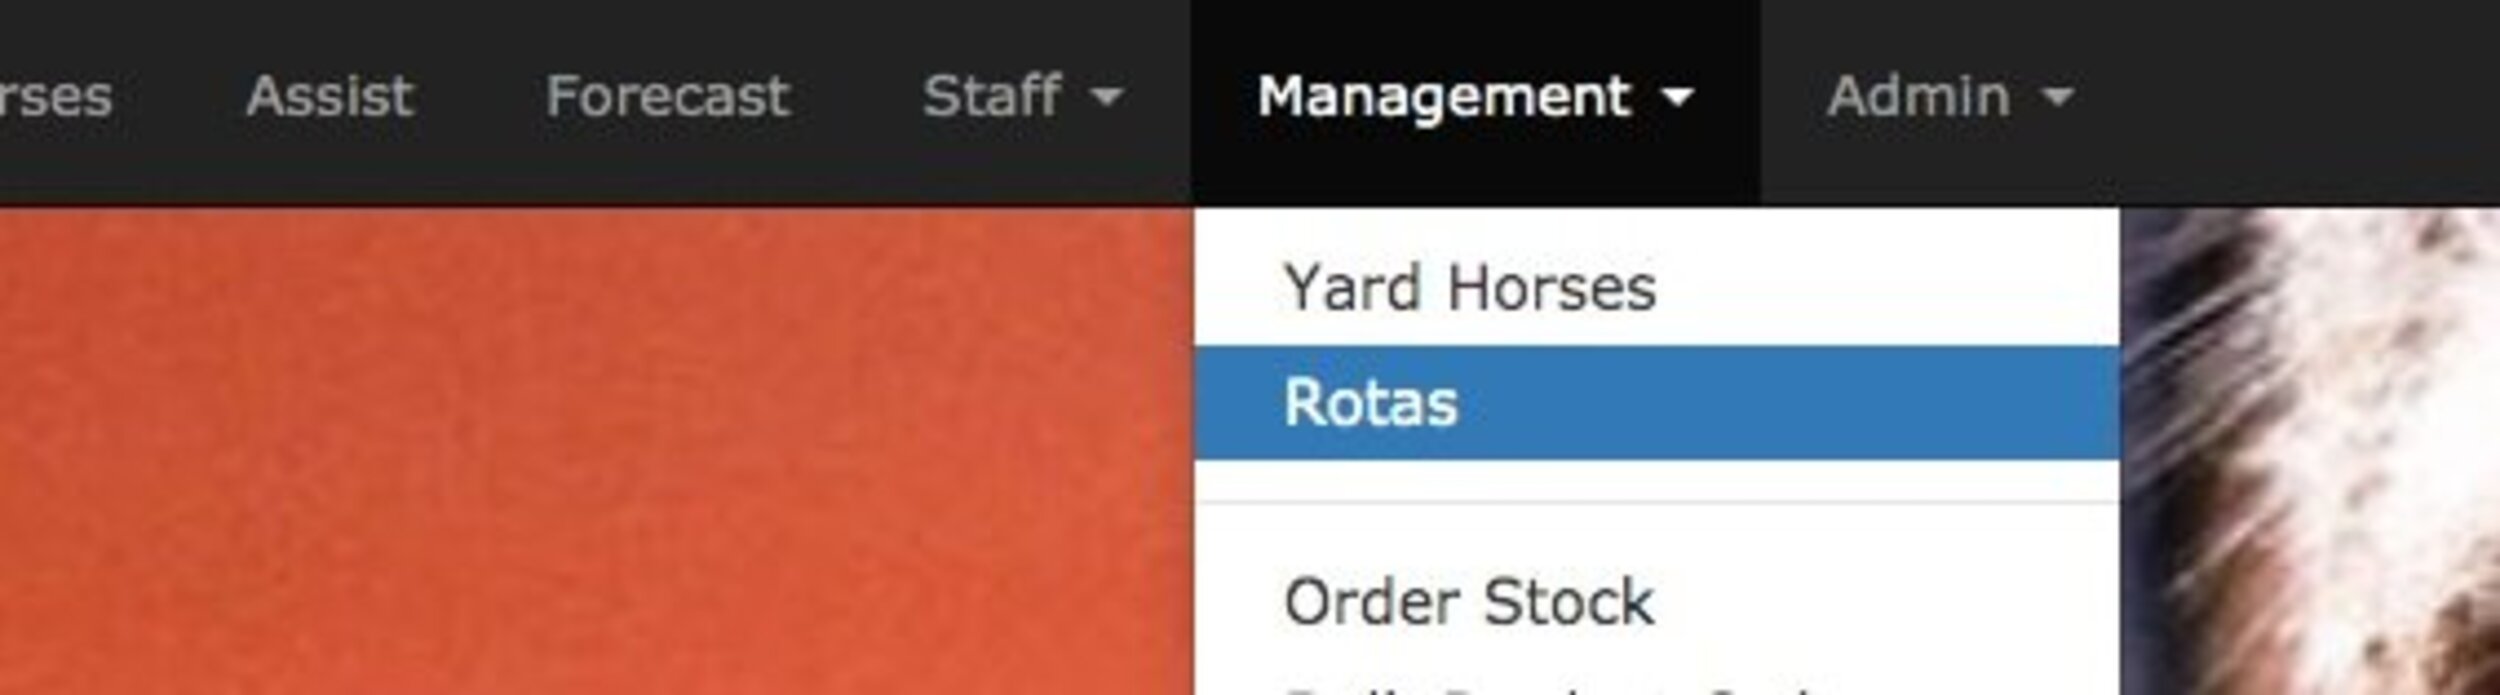
We’ve made it quick and easy to create a new rota, all you need to do is go to the management tab and click on Rotas.
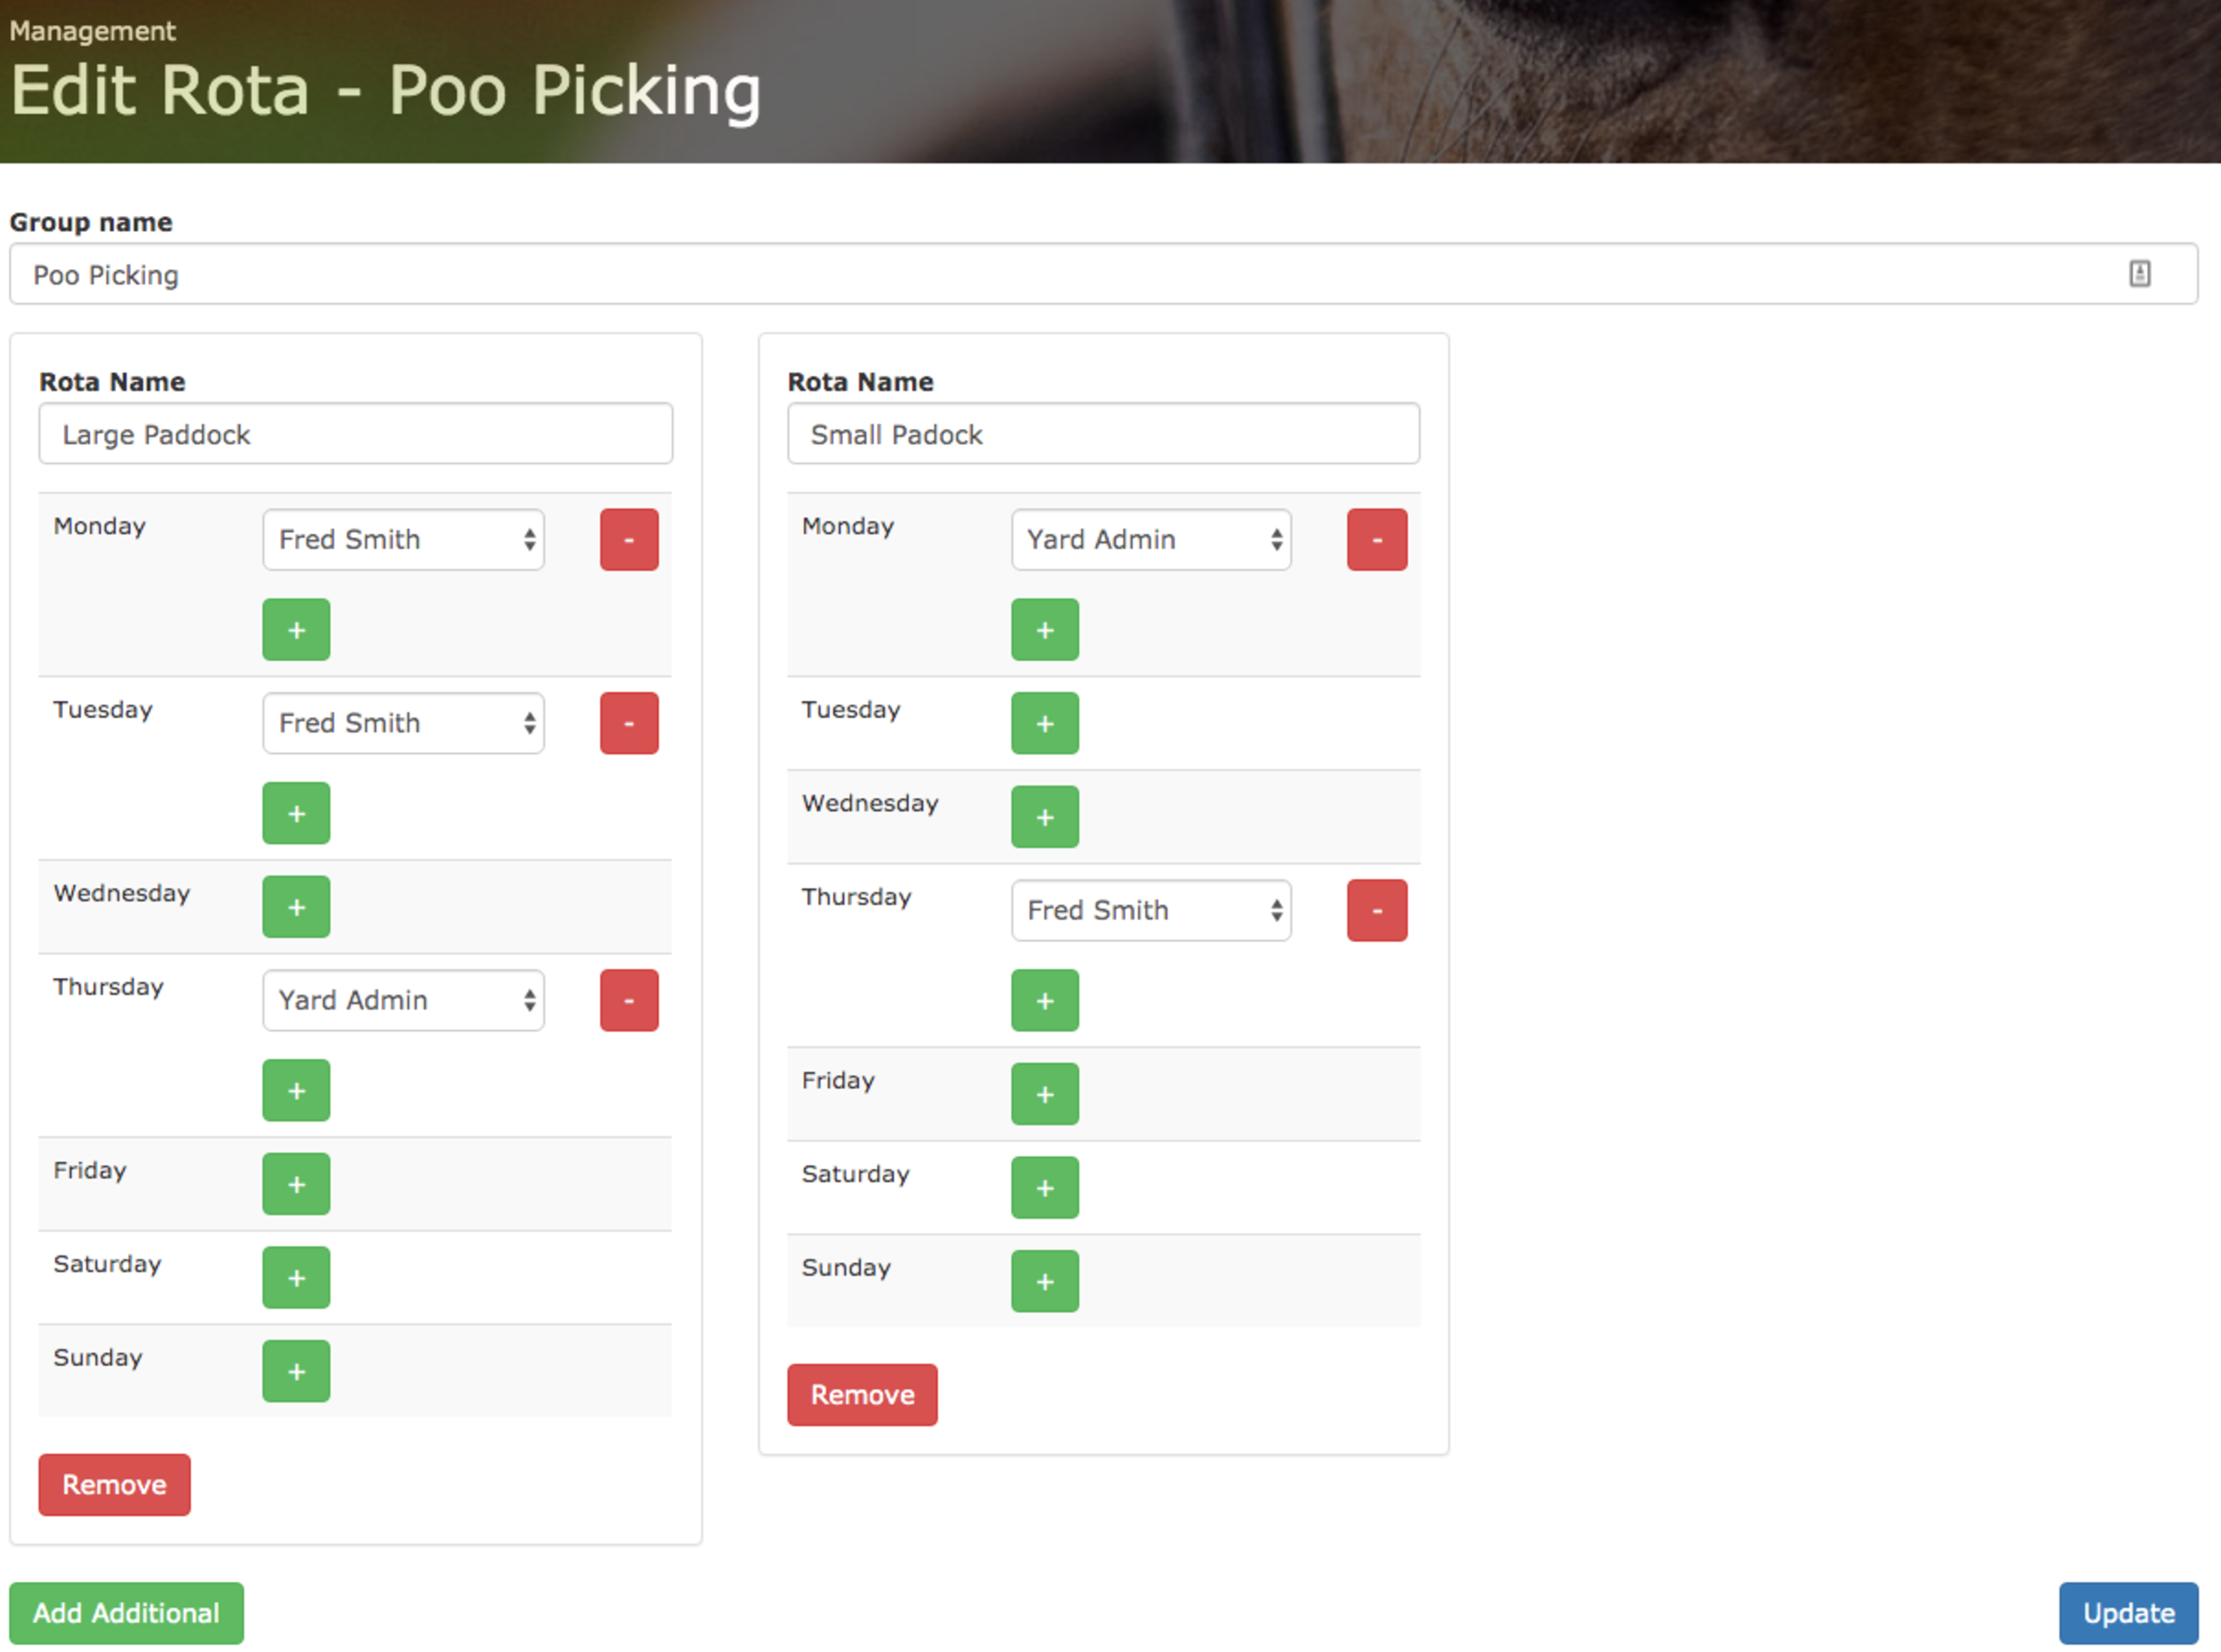
From there you can click on Create New Rota. This will bring you to the Rota editing screen where you can choose the Rota Group name (e.g. Poo Picking). You can then give titles to the individual parts of the Rota (in this example the name of the paddocks) and select on which days who will be responsible for clearing them. When done, you click on ‘Create’ or ‘Update’ and your Rota will be ready to go.
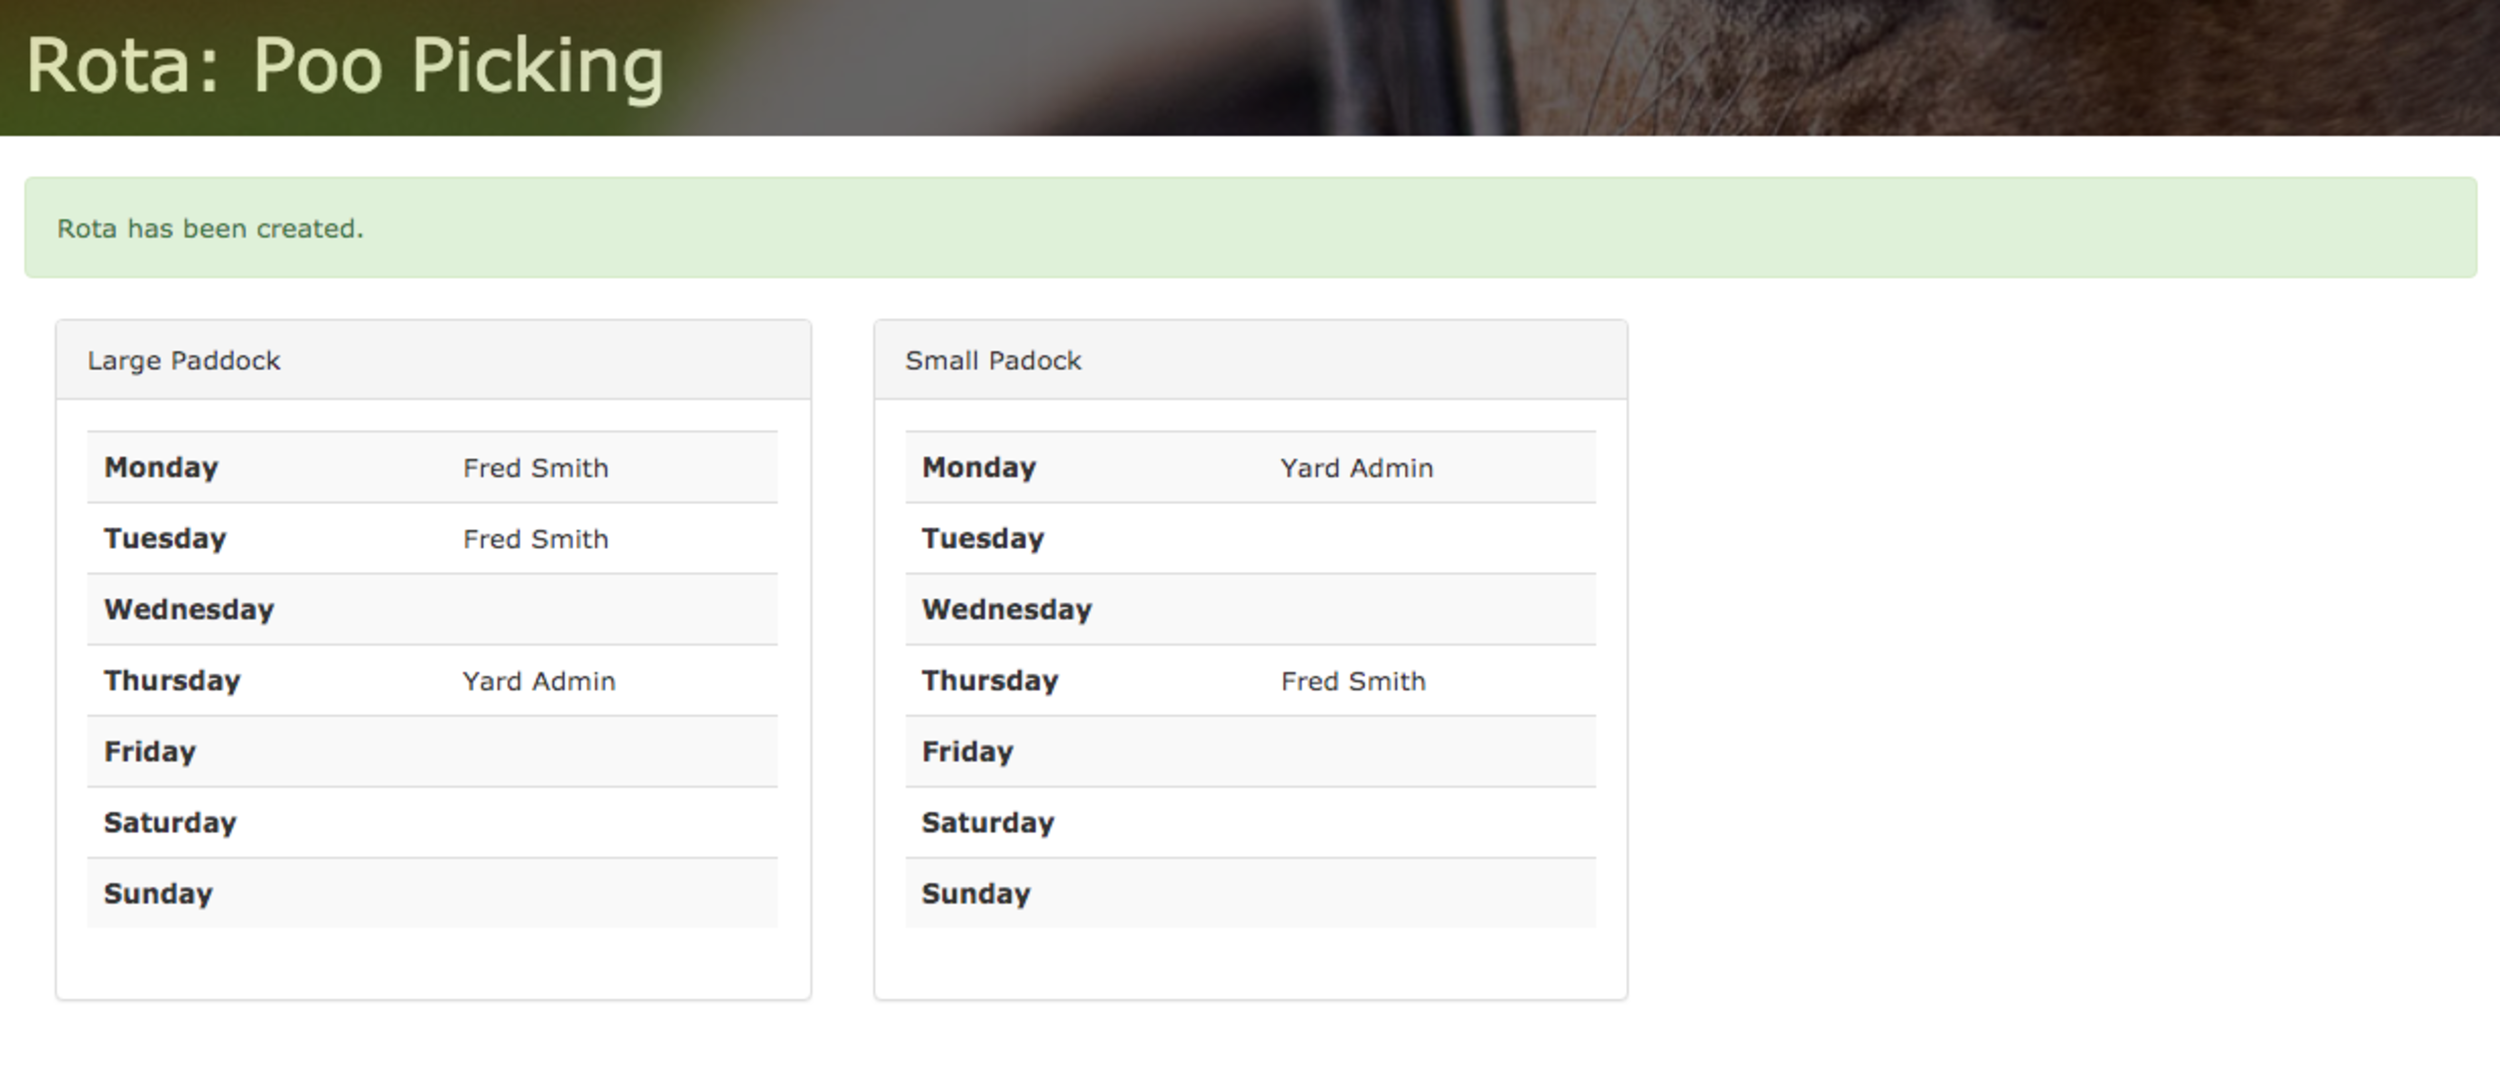
Once you’ve setup your first Rota your customer will have a new Rota button on the menu. They can click this button and see all the Rotas at the yard - always kept up to date with the latest changes.

Finally when they click onto a rota group they’ll see the Rota and then - get on with the Poo Picking!
As with many of our new features, this came from a discussion with a new yard we were demoing the software to. So if you have any feedback of existing features or would like to suggest new ones we’re always happy to hear them! Drop us a message on the contact form on our home page!
It’s #FeatureFocusFriday again and this week we’re pleased to be launching another new feature for all our users.
We’re introducing Published Calendars. With published calendars you can choose a subset of your Facilities and Services to put on a calendar that can be embed’ed on your own website, available for everyone to see, no login required!
This feature goes even further than last weeks’ Yard Wide Display by letting prospective customers (not yet registered in the system) to see availability and also get a general idea of what’s going on at the yard.
It can also be used for large format displays in common areas, tack rooms etc. to keep everyone in the loop and aware of what’s going on at your yard/equestrian centre (please send us photos if you do this 😁).
To help get you up and running we’ve put together a screencast showing you how to configure a new published calendar. Then we show you how to embed it in Squarespace and Wordpress. You can of course use other platforms as well and if you need help please let us know.
Check it out below
As with many of our new features this comes from discussion with our customers. If you have any feedback of existing features or would like to suggest new ones we’re always happy to hear them! Drop us a message on the contact form on our home page!
Enjoy your weekend!

For certain services and facilities you want all your customers to be informed when ever a new order or booking is made. To make this possible, this #FeatureFocusFriday, we’re introducing Yard Wide Display of Orders and Bookings.
To setup yard wide display (also known as public display) you need to go to the Admin tab and click ‘Services' or ‘Bookings’, click Edit or Create. On the form that loads scroll down to the bottom and you’ll see a check box ending in ‘to all users?’.
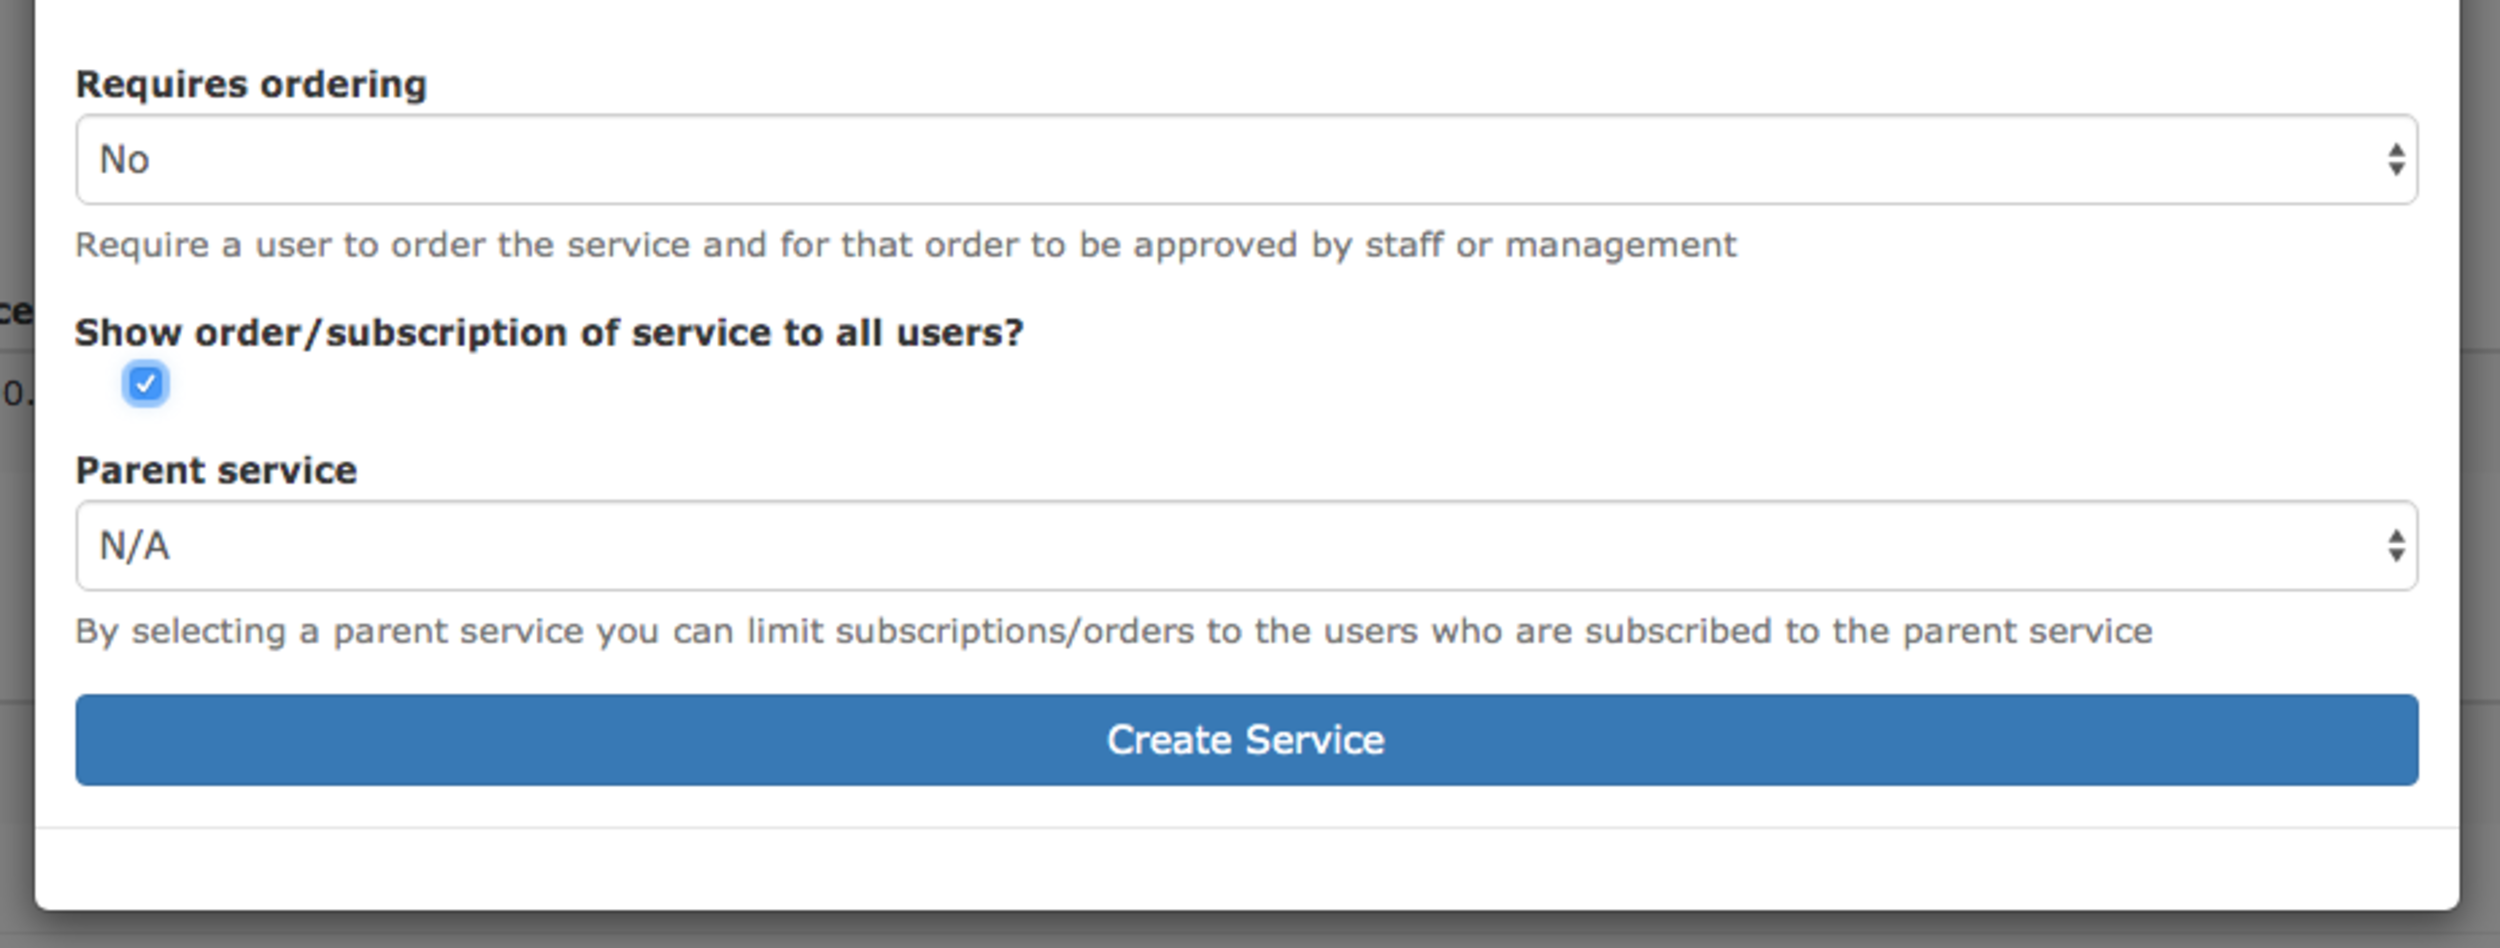
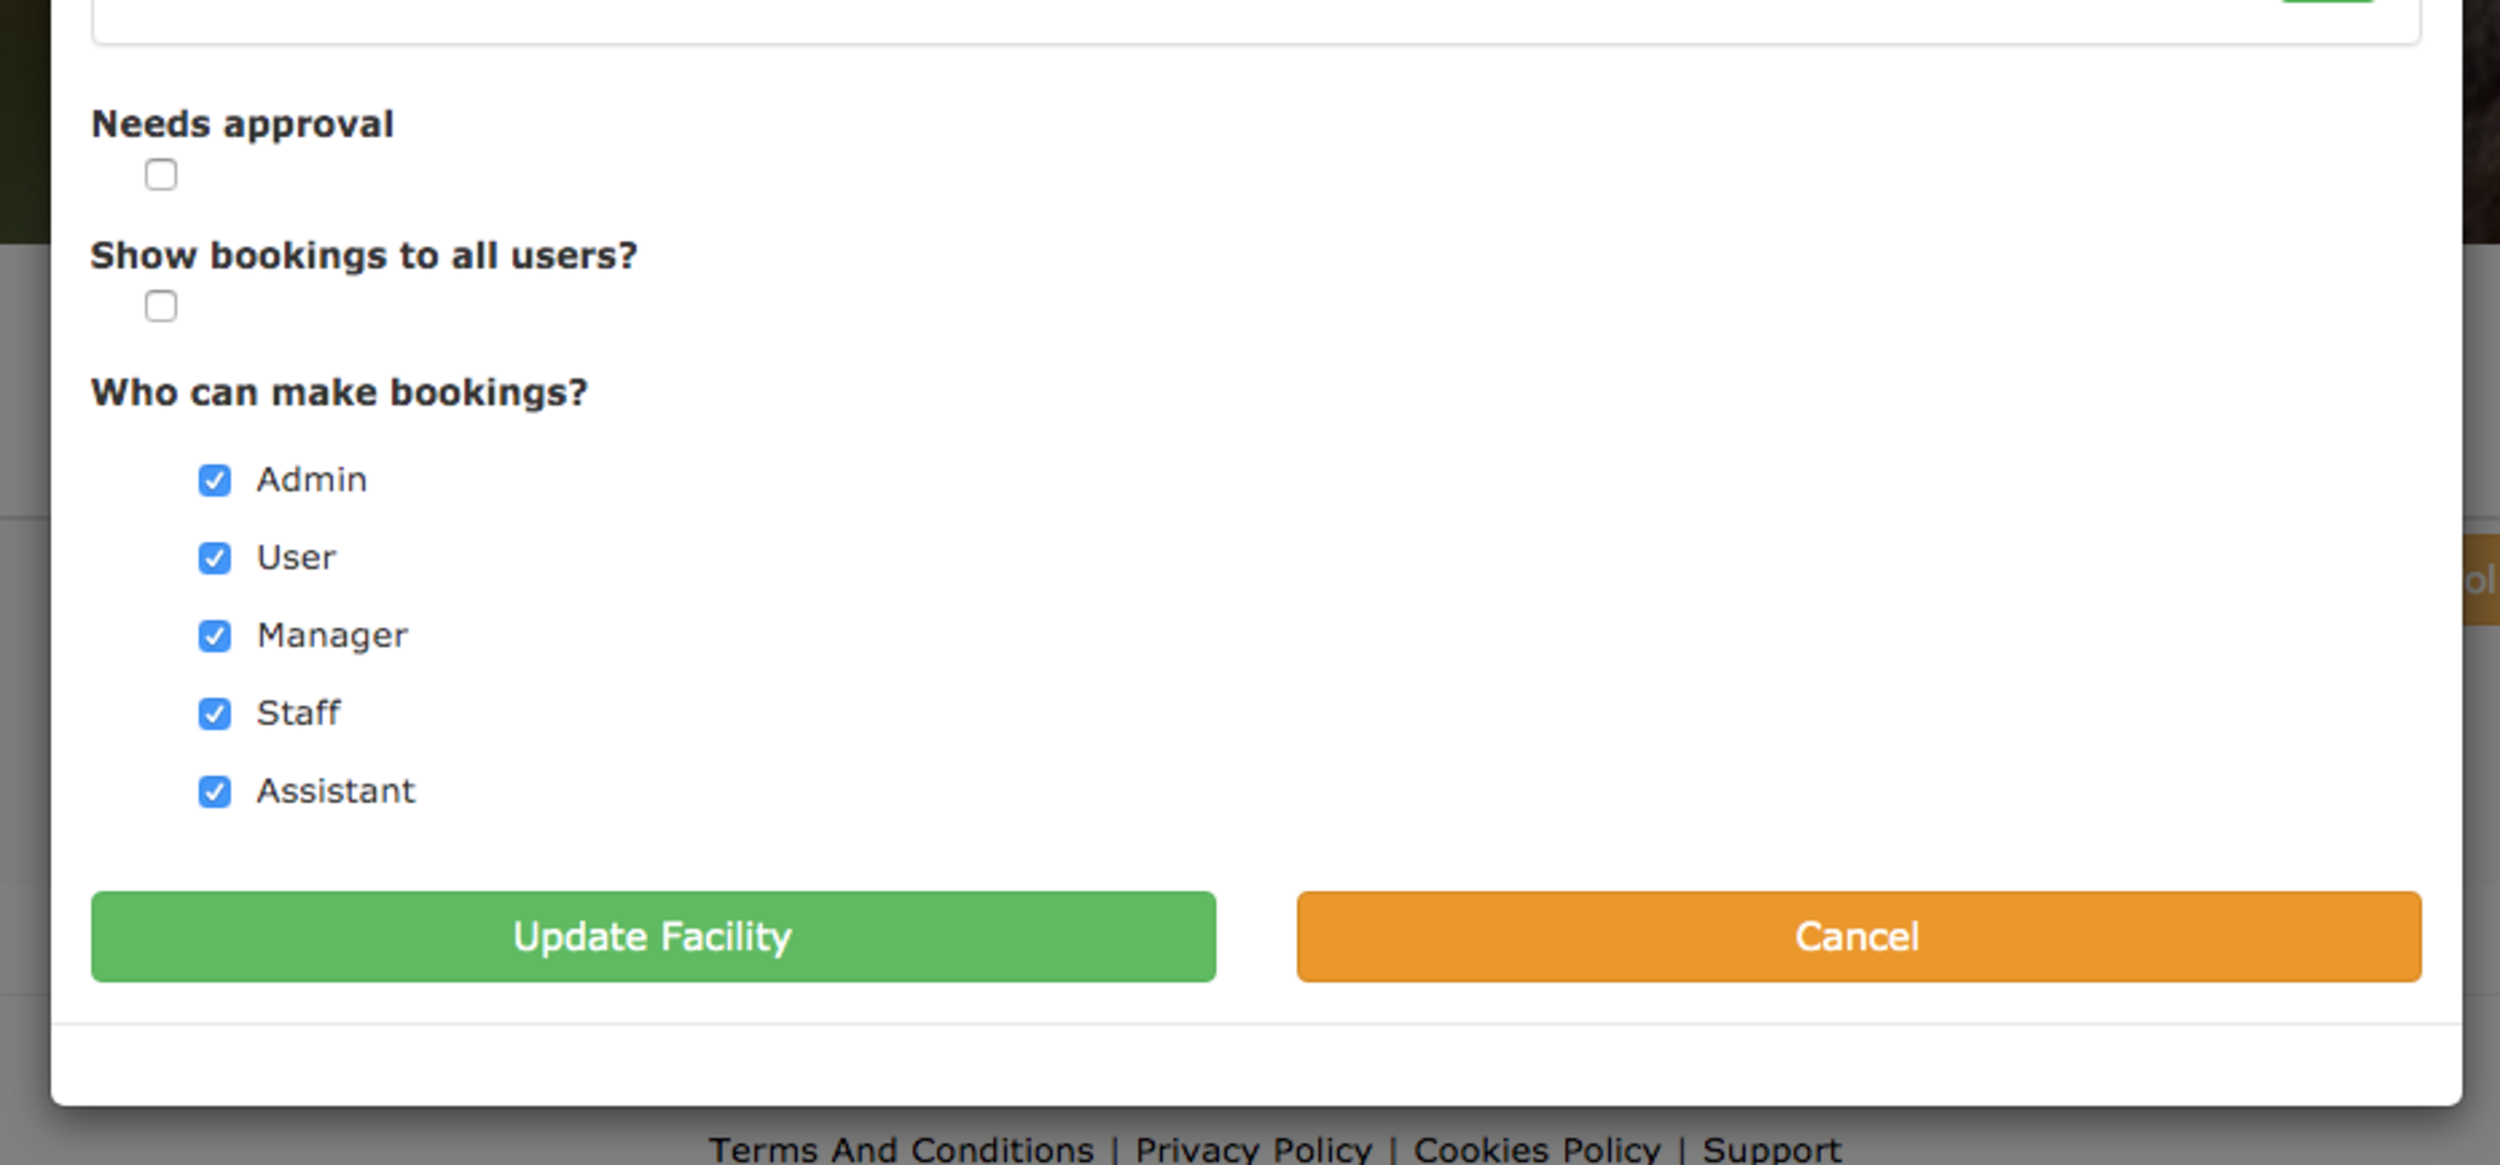
When you check this checkbox, whenever a booking or order/subscription is made for the facility/service it’ll be displayed on each users individual calendar on their front page.
Like their own calendar entries the type will be denoted by it’s colour in accordance to the key. New with this feature, in the case of a public event it’ll be denoted with a 📍either side of the entry.

When you click on a calendar entry it’ll load the usual detailed view. In the case of a public entry it’ll also display an additional line letting you know who’s made the booking or order.

This feature helps in providing transparency and increased communication for your customers. If you need any help setting up your public services or facilities please feel free to get in touch and we’ll be happy to help!
As with many of our new features this comes from discussion with one of our customers. If you have any feedback of existing features or would like to suggest new ones we’re always happy to hear from customers (both existing and prospective 😀)!
In yesterdays video we looked at how to setup products in At The Yard. In todays video will be looking at the feed system; how to customise it, how to set it up and how to use it.
Check out the video below to find out how.
A key part of At The Yard is getting your products setup for your customers to purchase either when visiting your yard or for the care of their horse when they’re boarding their horse with you. Once setup you can use many of the additional features in At The Yard that are based around products. For example included products as part of a livery package or in the feeding schedule system.
However, it’s important to get the basics setup first and that’s what we’ll be looking at today. At The Yard has three types of products:
For each type of product At The Yard will automatically calculate the correct price for the amount purchased, ready for you to bill for at invoicing time. Check out the video below to find out how.